Get Clear on Your Renovation Goals
Start by figuring out which rooms or areas need attention. Is the kitchen outdated? Are you dreaming of a proper home office? Don’t fall into the trap of trying to do everything at once. Be specific and practical.
Once you know the what, ask yourself why. Is this about making your space more functional better storage, a more efficient layout? Or is it about aesthetics updating style, finishes, and lighting? Maybe it’s both. The clearer your goals, the easier decisions become down the line.
Prioritize what adds real value or fixes the biggest pain point. If your bathroom leaks or your electrical system’s ancient, style can wait. Tackle what will improve daily life first. That list of “nice to haves” can come later.
Set a Realistic Budget
Budgeting isn’t the glamorous part of a renovation, but ignore it and you’ll regret it fast. Start by pricing out your materials flooring, paint, fixtures, finishes down to the nails if you can. Even in a DIY project, some jobs should be left to pros: plumbing, electrical, or anything requiring a permit. Get a few quotes so you have a sense of real costs, not ballpark guesses.
Add a buffer. At least 10 15%. Things go sideways materials run short, something breaks, a tool fails. It happens. Planning for the unexpected means you’ll stay on track when it does.
And don’t sleep on the extras: permits (check your city’s website), tool rentals, safety gear, and waste removal. That ugly pile of drywall trash in your driveway? It’s going to cost you to haul it away. Build those into your initial numbers. A clear, honest budget is what separates the projects that get finished from the ones that get abandoned.
Scope the Project
Don’t fall into the trap of thinking you can gut a room and wing it as you go. Every successful DIY renovation has clear phases: design, demolition, build, and finishing. Map them out. This isn’t just about staying organized it’s about avoiding burnout and expensive mistakes. You don’t start painting while drywall’s still going up.
Before a single tool comes out, think through how the construction will affect your day to day. Can you cook if your kitchen’s down for a week? Shower if the only bathroom’s in pieces? Some parts of the reno might mean you’ll need to crash somewhere else, at least temporarily. Plan with that in mind.
Also, be honest about what you can and can’t do. Hanging art is one thing. Running electrical or cutting tile? That’s another. Tackle the parts you’ve got the skills (and time) for, and call in pros when you’re out of your depth. Knowing when to hand it off doesn’t make you less DIY it makes your finished project safer, cleaner, and a lot more likely to last.
Design and Plan Ahead
Before you touch a hammer, plan like you mean it. Start by sketching out your space old school on paper or digitally with design tools like SketchUp, Floorplanner, or even just Pinterest boards. The goal is to nail down your vision before you’re knee deep in demo dust.
Lock in your materials, colors, and overall style early. Changing your mind mid project is expensive and frustrating. Know what backsplash you want. Choose the paint. Pick out handles, tile, lighting. Having everything lined up will save you time, cash, and stress.
Measurements matter more than you think. Take them carefully. Then take them again. Don’t round up or guess. Cabinets that don’t fit or countertops that overhang awkwardly can throw off your whole flow. This part isn’t glamorous, but it’s the backbone of a clean build. Measure twice. Then once more, just to be sure.
Source Materials and Tools Early
If you’re waiting until mid project to track down tiles or hunt for a sander, you’re already behind. Order key materials and items well in advance cabinet doors, lighting fixtures, custom hardware anything with a lead time. Delays pile up fast when a single part is missing.
For tools that cost more than they’re worth owning (tile cutters, nail guns, specialty saws), look into rental options or borrow from friends or neighbors. The money you save can go straight into better materials or finishing touches.
On that note, think long term when sourcing. Pick materials that will hold up and won’t trash the planet in the process. From recycled countertops to sustainable flooring, you’ve got options. For more on green upgrades, take a look at these eco friendly renovation tips.
DIY Execution Best Practices
First up: demolition. It might feel exciting to swing a hammer into a wall, but don’t just start smashing things. Wear safety gear gloves, eye protection, a mask if you’re dealing with dust or old materials. Shut off power and water if your project involves plumbing or electrical components. Think of this stage less like tearing down and more like unbuilding with care.
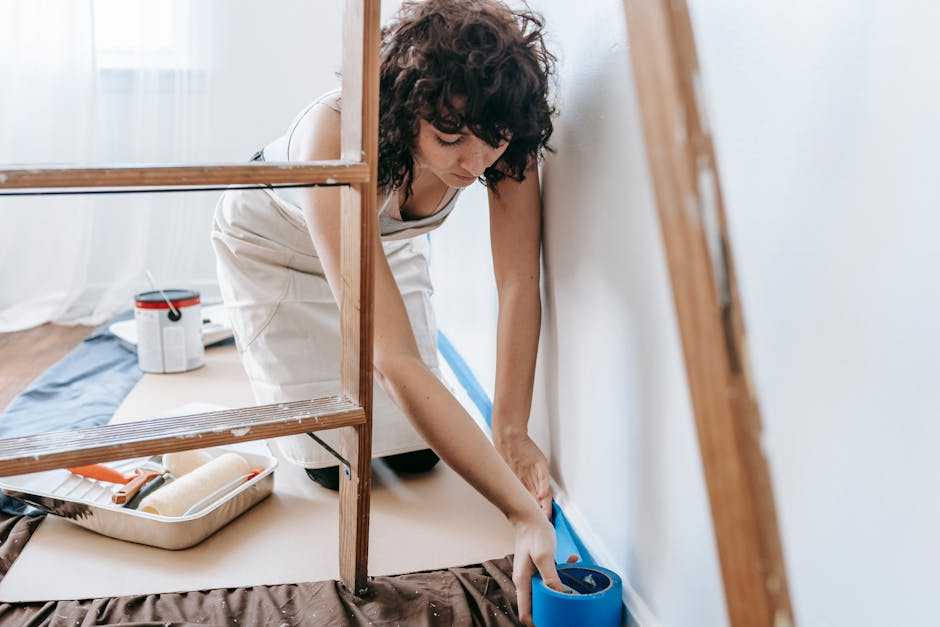
Next comes the prep work. This is where patience pays off. Whether you’re laying tile, painting a wall, or installing flooring, don’t rush the early steps. Level surfaces, clean everything thoroughly, tape what needs taping. Half of what makes the finished product look pro comes from getting the groundwork right.
Finally, lean on the hive mind. YouTube, subreddit threads, DIY blogs there’s a tutorial or troubleshooting post out there for almost every scenario. When you hit a wall (figuratively), someone else probably already hit it literally and found a way through.
The DIY route is slower, but when you take your time and do it right, the payoff is worth it.
Inspection, Cleanup & Final Touches
After the heavy lifting is done, don’t overlook the final steps they’re just as important for a successful renovation result.
Inspect for Quality and Safety
Before calling a project complete:
Go through each renovated area looking for defects, missed details, or safety concerns.
Test outlets, switches, appliances, or plumbing.
Ensure everything is installed correctly and meets code, especially if you plan to sell in the future.
Consider bringing in a professional to inspect electrical or structural work if you handled it yourself.
Do a Deep Clean
Renovation dust lingers even in hidden places. Before putting furniture or personal items back:
Clean all surfaces, floors, fixtures, and vents.
Dispose of any leftover materials or renovation debris properly.
Use a HEPA vacuum or air purifier to clear out fine dust particles.
Finish With Personal Touches
This is where your space truly becomes yours:
Add decorative lighting, wall art, rugs, or textiles that reflect your style.
Install functional upgrades like smart switches or storage units.
Don’t rush this step thoughtful details can elevate the entire space.
Final touches aren’t just cosmetic they complete the transformation and make your home feel whole again.
Bonus: Build It Better
Think Beyond the Immediate
When planning a DIY home renovation, it’s easy to focus on what looks good right now. But smart renovators take a long term view. Ask yourself:
Will this material or design hold up for 5 10 years?
Are you choosing trends, or timeless fixtures that will age well?
How easy will it be to update or maintain this space in the future?
Choosing durable materials, flexible layouts, and solid craftsmanship will save you time, money, and effort down the line.
Make Sustainable Choices
Renovating gives you the perfect opportunity to reduce your environmental impact and cut down on future energy costs. Integrate eco conscious decisions right from the planning phase.
Ideas to make your renovation greener:
Invest in energy efficient windows, lighting, and appliances
Use reclaimed or recycled materials where possible
Opt for non toxic paints and low VOC finishes
Improve insulation to reduce heating and cooling needs
For more practical suggestions, check out these helpful eco friendly renovation tips.
Planning for sustainability not only benefits the planet it can lead to long term savings and a healthier home.
Keep It Real
Renovation doesn’t always stick to your schedule, no matter how well you plan. Materials come late. Walls hide surprises. Weather doesn’t care about your weekend demo. That’s why staying adaptable matters just as much as having a timeline. Build in extra time. Expect some reroutes. Then roll with it.
Also: don’t buy the myth that DIY is quicker. It’s not. Learning, prepping, fixing mistakes all of that adds hours. But here’s the trade off it can cost less, and the payoff is bigger because it’s yours. You made it happen. Done right, that’s worth the extra effort.
Keep expectations in check and priorities clear. Renovating your space should feel empowering, not overwhelming. So when things go sideways (and they probably will), step back, reassess, and keep going.